top of page
How to install   Mud in a shower floor
20:43

How to install Mud in a shower floor

SUBSCRIBE Learn how tile the right way How to install mud in a shower pan for a tile shower stall. When installing a tile shower, whether it be ceramic, marble travertine or any other tile product, a mud base will be required. Mud also known as deck mud, is a mixture of sand and Portland cement mixed to a ratio that will create a solid foundation for the tile which will be installed on it. The deck mud is mixed with water to a dump consistence which will allow the deck mud to hold its shape when pressed into a ball. The mud must be pitcher towards the drain so that a slope of at least 1|4" per foot is achieved. The ratio of sand and Portland cement is usually 4:1 or 5:1. I usually use "Quikrete" sand topping mix, which as far as I know, has a ratio which is a little richer than needed, but is suitable for a shower pan. The method I employ to install my mud shower pan, is to create a level and flat perimeter around the base of the shower walls which is at the correct height in relation to the drain, and then fill the middle part of the shower pan screeding down to the drain with the proper pitch. The mud is shaped with a wooden trowel, steel trowel, level and other pieces of straight wood lengths cut to the required lengths. In this video I demonstrate the technique I use to install a shower mud pan base. There are other methods that can be used, but this is the way I have installed hundreds of shower bases. All tile installed by Sal DiBlasi, Elite-tile Company, in the Boston North Shore area. This video contains affiliate links, which means I will receive a small commission if you click on the product link. ☕ Buy me a coffee ☕ https://www.buymeacoffee.com/saldibs2 🙂 This is my Amazon Store 🙂 https://www.amazon.com/shop/saldiblasi 💲1 PDF Floor installation guidelineshttps://sowl.co/s/wWd2d 💲1 Channel Store https://www.youtube.com/channel/UCWpu9UZ6aiRTaMuuV8-C0pQ/store 👍 Patreon https://www.patreon.com/saldiblasi 👍 YouTube Channel http://www.youtube.com/user/saldibs?feature=watch Facebook https://www.facebook.com/pages/Elite-Tile-Company/56681633342 Website http://www.elitetileco.com/ Twitter https://twitter.com/saldiblasi1 Instagram https://www.instagram.com/saldiblasi1/ National Tile Contractors Association https://tile-assn.site-ym.com/ 👇 Some of my favorite Tools 👇 Float https://amzn.to/2tdEpN2 Rubbing Stone https://amzn.to/2QrgRfh Notched Trowel 1/4 x 1/4 x 1/4-inch https://amzn.to/36bq5mQ Notched Trowel 1/2 x 1/2 x 1/2-Inch https://amzn.to/2Q5e90g Notched Trowel 1/4 x 3/8 x 1/4-Inch https://amzn.to/39j1caB Super Dust Collector – WaleTale https://amzn.to/2MDuVkK Black Nitrile Gloves - 6 mil https://amzn.to/2SJQ6FZ Margin Trowel https://amzn.to/352MYHx Mortar Mixer https://amzn.to/2ZxYqtF 4in Sandpaper for Stone Polishing https://amzn.to/2ZB2skT Polishing Rubber Backing Pad https://amzn.to/2srikdy Montolit 63P3 24 Inch Tile Cutter https://amzn.to/2MDoFtl DEWALT Wet Tile Saw https://amzn.to/2QqpO8O Rubi Thinset mixer https://amzn.to/39VmNWV Opt into NTCA’s VIP Text Messaging program for training opportunities. Text “NTCA” to 31996 or Visit https://widget.smsinfo.io/v2/ae58812ba684c1dc65550d3349dbc2e6 For Industry Professionals only
How to install Schluter®-KERDI-SHOWER Trays
05:34

How to install Schluter®-KERDI-SHOWER Trays

KERDI-SHOWER pre-fabricated trays are ideal for constructing a shower base and designed to integrate with the Schluter Shower System. They are lightweight and easy to install. They can also be cut to size and extended with dry pack mortar if required. KERDI-SHOWER trays are available in an expanded range of sizes and configurations. Some of these sizes feature reduced thickness to help facilitate curbless shower applications. Many of our trays are also available with integrated waterproofing, making shower installation even easier. Let’s take a look at the installation of one of our KERDI-SHOWER-TT thin trays. Cut a hole in the substrate for the Schluter-KERDI-DRAIN and coupling to the waste line using the template provided. Do not use the opening in the shower tray as a guide. You must limit the diameter of the hole to five inches maximum to ensure proper support for the tile assembly. If there is access to the plumbing from below and the waste line can be connected to the KERDI-DRAIN after installation, you can install the tray prior to the drain. When there is no access to the plumbing from below, you will need to install and connect the KERDI-DRAIN to the waste line before installing the shower tray. Please refer to the No Access Plumbing Demonstration with KERDI-DRAIN & KERDI-SHOWER Trays Video. The substrate must be clean, even, load-bearing and level. Any leveling of the floor must be done prior to installing the tray.The KERDI-SHOWER-TT is installed using any of our Schluter thin-set mortars or…an unmodified thin-set mortar. A one-quarter inch by three-eighths inch square or U-notched trowel is used to apply the mortar. Apply a thin layer of mortar to the subfloor with the flat side of the trowel and then comb additional mortar using the notched side of the trowel. Place the shower tray and solidly embed in the mortar. If you are not immediately installing the KERDI-DRAIN clean the mortar from the step in the shower tray and the area surrounding the hole in the subfloor. Otherwise the dried mortar might interfere with your drain installation. A curbless application can be achieved by installing a plywood or OSB underlayment and DITRA-HEAT or DITRA-XL membranes over the bathroom floor. Since we are raising the floor, the transition to the adjacent room must be checked. The transition will typically be manageable when the adjacent floor covering is relatively thick, such as a carpet with pad or three-quarter inch thick hardwood. The tray can also be installed in conjunction with our pre-fabricated shower curbs. The KERDI-BOARD-SC shower curb is installed as per usual, using any of our Schluter thin-set mortars….or an unmodified thin-set mortar. Make sure the mortar is applied to all points of contact with the curb, including the subfloor, walls and the edge of the shower tray for proper support. Embed the curb and make sure it is level. Next we will install the KERDI-DRAIN. Fill the step in the shower tray and the area surrounding the hole in the subfloor completely with thin-set mortar. Press the KERDI-DRAIN firmly into the mortar for full support of the bonding flange. Clean excess mortar from the bonding flange to prepare for the KERDI collar installation.Use a Schluter®-KERDI-TROWEL or a 1/4" x 3/16" (6 mm x 5 mm) V-notched trowel for the KERDI-installation. Using the flat side of the trowel apply l thin-set mortar over the bonding flange and within the recessed area of the shower tray surrounding the drain. Then comb additional mortar using the notched side of the trowel. Center the included KERDI collar, over the KERDI-DRAIN and embed using the flat side of the trowel or a dry wall taping knife. Make sure this connection is secure. Using the same technique, install the KERDI-KERECK corners and KERDI-BAND waterproofing strips to seal the shower tray to the walls and curb. Depending on project requirements and installer preferences, the order of installation may vary. Two inch overlaps must be maintained at all seams. The system is designed to be flexible and meet the needs of the installer. The installation of the KERDI-SHOWER-TT thin tray, KERDI-DRAIN and waterproofing are now complete. Schluter shower trays reduce installation time and make shower installation easier than ever. For further information on our products please visit our website: http://www.schluter.com Subscribe to our channel: http://www.youtube.com/schlutersystems1 Facebook: https://www.facebook.com/schlutersystems MUSIC Licence Audio Jungle EvantoMarket Author:AurusAudio Title: Uplifting and Inspiring Corporate ID;15357044 Purchase code:5fe1cf0e-949a-4ce0-8c75-7d69909dca7b

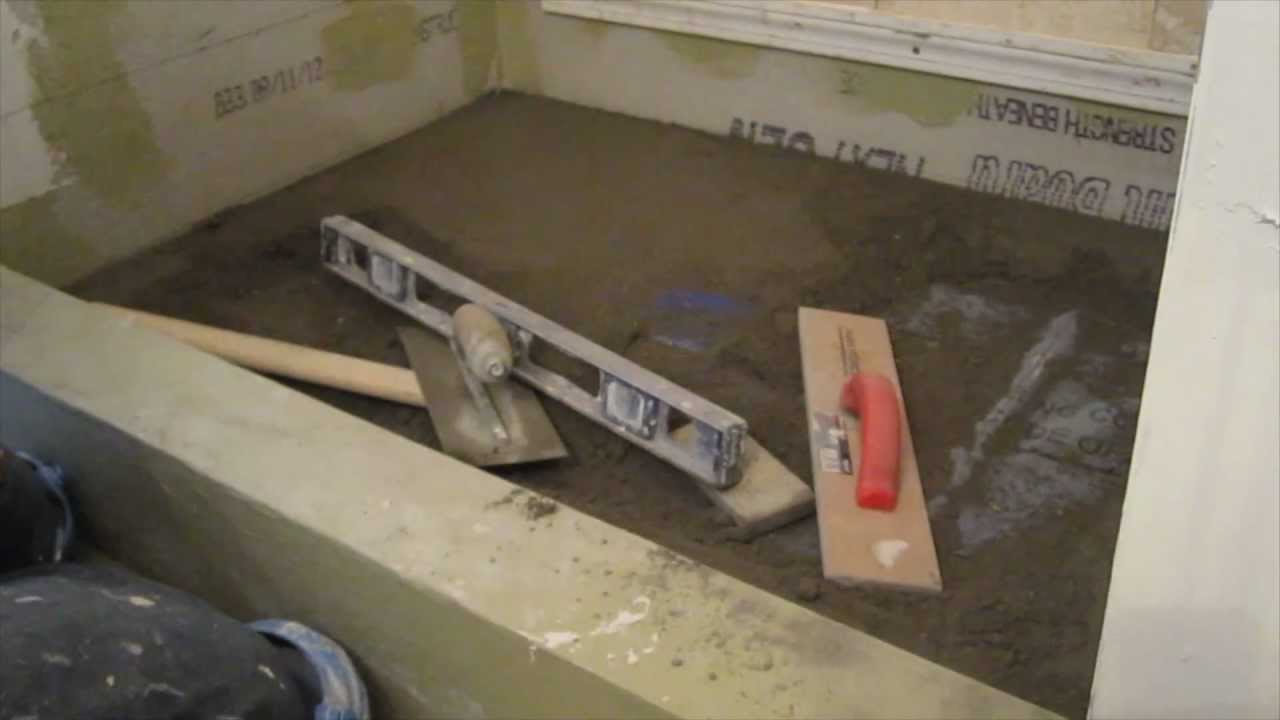
We are the only Ceramic Tile Company in Hunterdon County that has everything under one roof,  Cabinets, Granite Counter tops, Quartz Countertops, Hardwood floors, Bathroom Designs, and Kitchen Designs. Feel free to visit our Tile Showroom

bottom of page